開発
これは、Raspberry PIとAIを使用してホームオートメーションを開発するためのセットアップ手順です。
このプロジェクトはまだ完了していません。
入門
必要なもの
Pythonモジュール
Django
djangorestframework
django-filter
django-background-tasks
dash
plotly
等々。
$ cd tph
`pip`を使ってPythonパッケージをインストールできます。
$ pip install -r requirements.txt
On your development Mac, Ubuntu, or MS-Windows.
$ pip install -r requirements_dev.txt
ターゲットのラズベリーパイで。
私のラズベリーパイ3Bについて。
$ cat /etc/debian_version
10.9
$ uname -a
Linux raspi3b 5.10.17-v7+ #1414 SMP Fri Apr 30 13:18:35 BST 2021 armv7l GNU/Linux
$ lsb_release -a
No LSB modules are available.
Distributor ID: Raspbian
Description:    Raspbian GNU/Linux 10 (buster)
Release:    10
Codename:   buster
$ cat /proc/device-tree/model
Raspberry Pi 3 Model B Rev 1.2
raspi-configを使ってi2cを有効にします。
$ sudo raspi-config
Add i2c group your user account.
$ sudo usermod -aG i2c pi
MariaDBをインストールします。
$ sudo apt install mariadb-server
$ sudo mysql_secure_installation
Change the root password? [Y/n] y
Remove anonymous users? [Y/n] y
Disallow root login remotely? [Y/n] y
Remove test database and access to it? [Y/n] y
Reload privilege tables now? [Y/n]
Cleaning up...
Pythonの 'mysqlclient' モジュールをインストールします。
$ sudo apt install python3-dev default-libmysqlclient-dev build-essential
$ pip install mysqlclient
タイムゾーンをMariaDBに設定します。
$ /usr/bin/mysql_tzinfo_to_sql /usr/share/zoneinfo > timezone.sql
$ mysql -u root -p -Dmysql < ./timezone.sql
MariaDBを再起動します。
$ sudo /etc/init.d/mysql restart
Pythonモジュールをインストールします。
別のPythonモジュールをインストールする必要があります。
$ pip install -r requirements_rpi.txt
And edit your tph/tph/settings.py
274ON_RASPBERRY_PI = True
275USE_SMBUS2 = True
おすすめのIDE(統合開発環境)
Atom ; 基本エディタ
atom-ide ; IDE基本パッケージを作成する
ide-python ; Atom-IDE Python言語のサポート
atom-ide-debugger-python ; DEBUG Python
Hydrogen ; atom の対話コーディング環境
Hydrogenのセットアップ
$ pip install jupyter
$ python -m ipykernel install --user --name=<name> --display-name=<name>
$ jupyter kernelspec list
make
$ Python manage.py startapp monitor
$ Python manage.py makemigrations monitor
データベースを設定します
$ Python manage.py migrate
Operations to perform:
 Apply all migrations: admin, auth, contenttypes, sessions
Running migrations:
 Applying contenttypes.0001_initial... OK
 Applying auth.0001_initial... OK
 Applying admin.0001_initial... OK
 Applying admin.0002_logentry_remove_auto_add... OK
 Applying admin.0003_logentry_add_action_flag_choices... OK
 Applying contenttypes.0002_remove_content_type_name... OK
 Applying auth.0002_alter_permission_name_max_length... OK
 Applying auth.0003_alter_user_email_max_length... OK
 Applying auth.0004_alter_user_username_opts... OK
 Applying auth.0005_alter_user_last_login_null... OK
 Applying auth.0006_require_contenttypes_0002... OK
 Applying auth.0007_alter_validators_add_error_messages... OK
 Applying auth.0008_alter_user_username_max_length... OK
 Applying auth.0009_alter_user_last_name_max_length... OK
 Applying auth.0010_alter_group_name_max_length... OK
 Applying auth.0011_update_proxy_permissions... OK
 Applying sessions.0001_initial... OK
SCSS/SASS の利用
$ cp -r your/bootstrap-4.x.x/scss/* tph/static/bootstrap
いくつかのPythonモジュールをインストールします。
pip install django_compressor
pip install django-libsass
Background tasks
pip install django-background-tasks.pip install django-background-tasks
background tasks の登録と実行
最初の一歩
Djangoプロジェクトを作成します。
mkdir django-rpi-tph-monitor
cd django-rpi-tph-monitor
django-admin startproject tph
cd tph
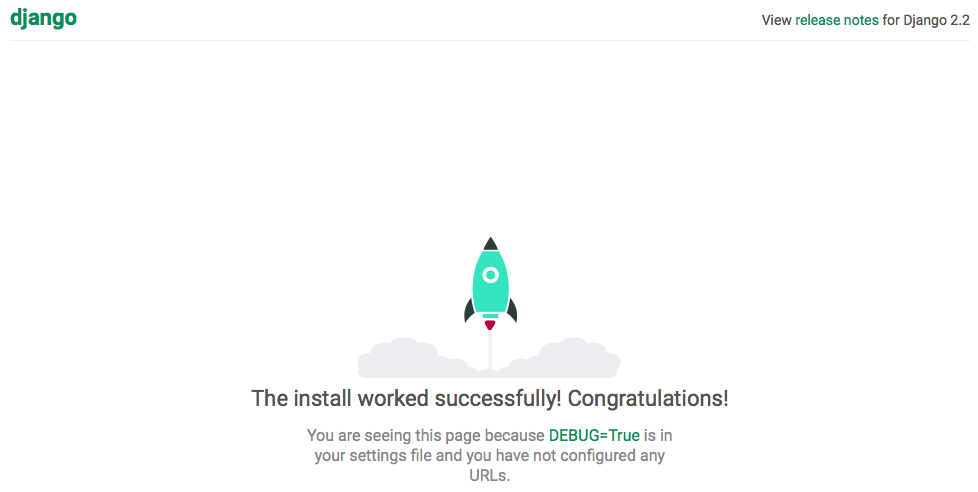
python manage.py runserver
Access http://localhost:8000/ on your browser. 
リモートコンピューターからRaspberry Piにアクセスするには、Raspberry Piで次の手順を実行します。
python manage.py runserver 192.168.xxx.xxx:8000
別のシェル(ターミナル)を入手する必要があります。 2番目の登録タスク。
$ curl -X GET http://localhost:8000/monitor/tasks/5/30
3番目の実行プロセスタスク。
$ ./manage.py process_tasks
デフォルトがdb.sqlite3であるデータベースからタスクをチェックできます。background_task、background_task_completed_tasks、またはmonitor_bme280テーブルを参照してください。
ドキュメンテーション
This project's documents are making with SPHINX. How to use, please see Installing Sphinx.
注釈
PyEnvを使用している場合は、pip を使ってインストールする必要があります。
$ pyenv virtualenv 3.9.4 dj32rpi394docs
$ cd ${your django-rpi-monitor}/docs
$ pyenv local dj32rpi394docs
$ pip install --upgrade pip
$ pip install -r requirements.txt
追加パッケージ
Sphinx-copybutton
$ pip install --upgrade sphinx-copybutton
Read the Docs Theme
$ pip install --upgrade sphinx-rtd-theme
ドキュメントを作る。
ドキュメントを作成できます。
cd docs
make html